The short answer: make a firm construction dough with no baking soda, chill it, and roll it on parchment to an even 1/4 inch. Cut around the paper templates, chill the pieces, bake at 350°F, and trim each piece against its template while it's still warm. Glue the walls with royal icing as stiff as toothpaste, prop them with cans, and give them at least an hour before the roof goes on, one panel at a time. Spread over four evenings (dough, bake, build, decorate), it's calm work for the whole family.
Before you bake: print, check and test
A template only works if it comes out of the printer at the right size. Print the template pages at 100% (Actual size), never Fit to page, and measure the 1-inch check square with a ruler before you cut anything.
- Cut the paper pieces on the solid lines and the window and door openings on the dashed lines. Every piece is marked with its code, how many to cut and which edge is the bottom.
- Want templates that last for years? Trace them onto clean cardstock or a new file folder; those can be wiped and reused every December.
- Do a paper test build first. Tape the paper pieces together in about 10 minutes and you'll see how the walls meet before any dough is involved. Small gaps are normal in paper, because the pieces are sized for 1/4-inch dough.
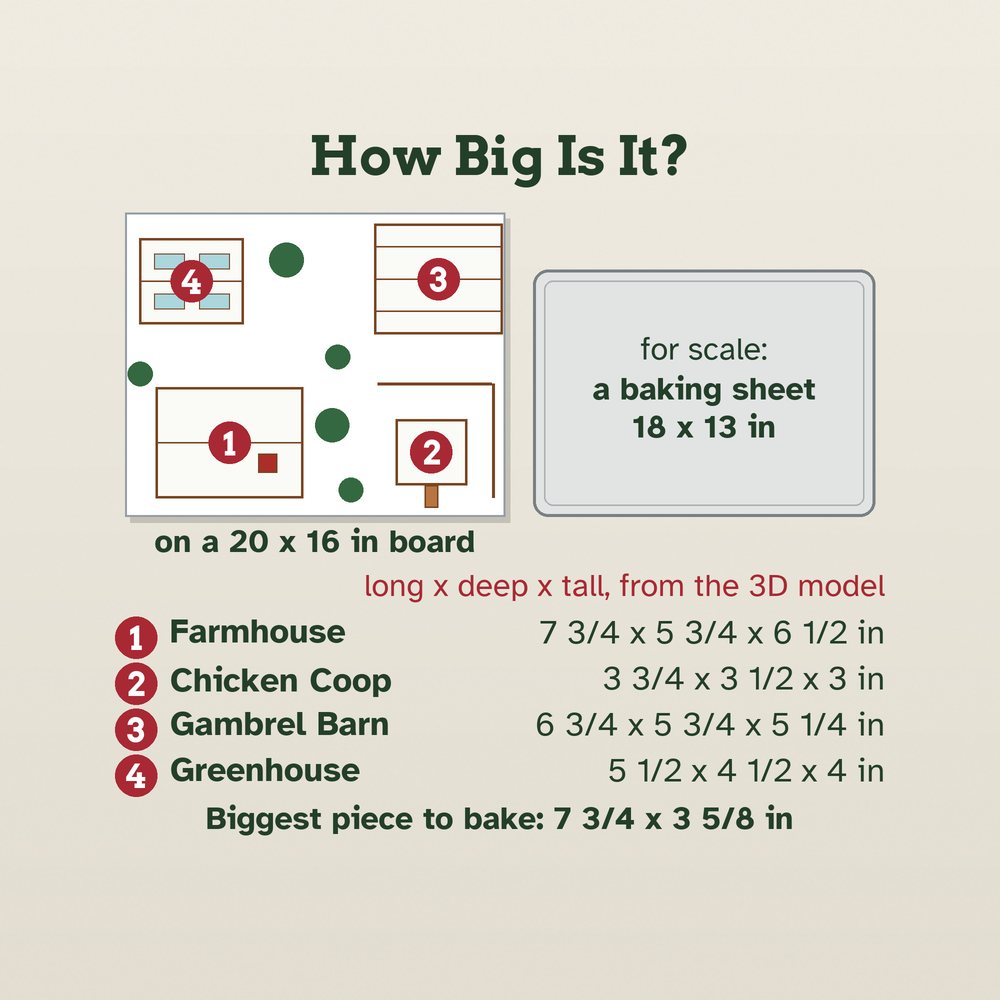
- Pick the board now. A single farmhouse or barn fits a 12 x 10 inch cake board or stiff cardboard; a whole village of four buildings wants 20 x 16 inches.
Good templates are drawn for the thickness of the dough. A wall that sits between two other walls has to be shorter by exactly two dough thicknesses, 1/2 inch in all, or the house won't close. That's why a template made for 1/4-inch dough only fits when you roll to 1/4 inch.
Construction gingerbread: the dough that doesn't puff
Cookie dough spreads and rises, which is lovely for cookies and a disaster for walls. Construction gingerbread has lots of flour, syrup for strength and no baking soda, so it bakes flat with sharp edges. This is the recipe in every Sagestead gingerbread pack:
| Ingredient | Amount |
|---|---|
| All-purpose flour | 5 cups (600 g) |
| Ground ginger and ground cinnamon | 1 Tbsp each |
| Salt | 1/2 tsp |
| Vegetable shortening (butter works, but spreads a little more) | 3/4 cup (145 g) |
| Packed brown sugar | 3/4 cup (160 g) |
| Molasses and light corn syrup | 1/2 cup each (170 g and 160 g) |
| Water | 2 to 4 Tbsp, as needed |
- Whisk the flour, spices and salt in a large bowl.
- Warm the shortening, brown sugar, molasses and corn syrup over low heat, stirring, just until the fat melts. Let it cool for 10 minutes.
- Stir the warm syrup into the flour, then knead into a smooth, firm dough, adding water a spoonful at a time.
- Divide it in two, flatten into discs, wrap and chill for at least 1 hour, or overnight.
- Before rolling, let the dough stand 15 to 20 minutes, until it rolls without cracking.
How much to make. One batch rolls out to roughly 250 square inches at 1/4 inch. A farmhouse needs about 140 square inches of dough and a barn about 117, so one batch builds either with spares. A small chicken coop needs only about 37 square inches: half a batch, with cookies left over. A whole four-building village takes three batches.
Roll to 1/4 inch, cut, chill, bake, then trim while warm
- Heat the oven to 350°F (175°C).
- Roll directly on parchment to an even 1/4 inch. Set two 1/4-inch guides (paint stirrers work) on either side of the dough so the rolling pin rides on them. Even thickness is what makes the pieces fit.
- Cut around the templates with a small sharp knife. Don't move the cut pieces; lift the scraps away around them instead, so nothing stretches.
- Chill for 20 to 30 minutes. Slide the parchment onto a baking sheet and into the fridge. Cold pieces hold their shape in the oven.
- Bake until the edges just begin to brown and the centers feel firm. Leave at least an inch between pieces.
- Trim while warm. Straight out of the oven, lay the template back on each piece and trim any spread with a sharp knife. Warm gingerbread cuts cleanly; cold gingerbread is too hard to trim neatly.
- Cool on the sheet, then flat on a rack, ideally overnight. Every piece should be completely stiff once cool. If one is still bendy, it goes back in for a few minutes.
| Piece (1/4 inch, 350°F) | Baking time |
|---|---|
| Small pieces: chimney, ramp, stands | 10 to 14 minutes |
| Walls and small roofs | 15 to 20 minutes |
| Large roof panels | 18 to 25 minutes |
Ovens differ: start checking at 10 minutes.
Glowing windows: crushed clear or yellow hard candies, melted into the window openings for the last 4 to 5 minutes of baking, turn into candy glass. Always on parchment, and always a grown-up job: melted sugar is hotter than 300°F and sticks to skin. Leave it to cool completely on the sheet before moving it.
Royal icing: the glue that holds it all
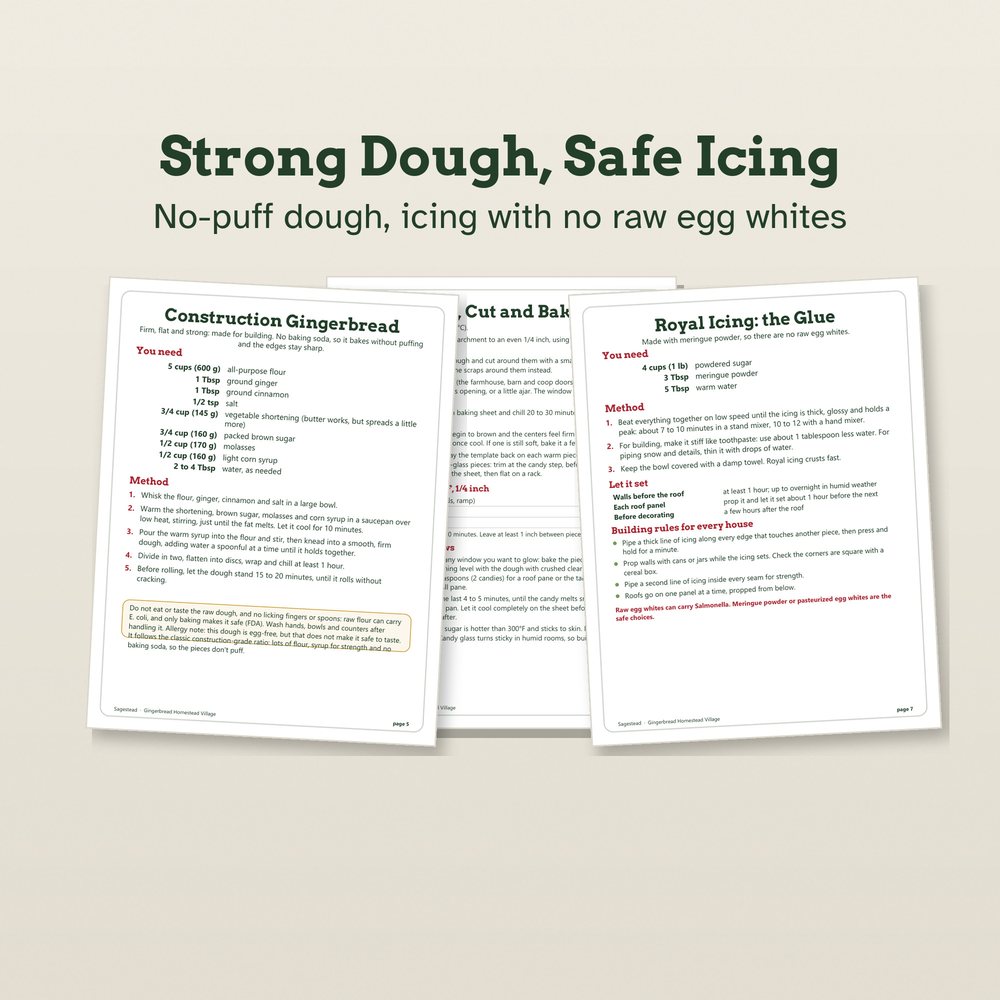
Royal icing dries hard, which is why it can hold up a roof. Make it with meringue powder: raw egg whites can carry Salmonella, and meringue powder has none.
- The recipe: 4 cups (1 lb) powdered sugar, 3 Tbsp meringue powder and 5 Tbsp warm water.
- Beat it long: on low speed until thick, glossy and holding a peak, about 7 to 10 minutes in a stand mixer or 10 to 12 with a hand mixer.
- Building icing is stiff, like toothpaste. Use about 1 tablespoon less water. Thin a little with drops of water later for piping snow.
- Keep the bowl under a damp towel. Royal icing crusts fast. Make one batch on building day and a fresh one on decorating day.
The order of assembly
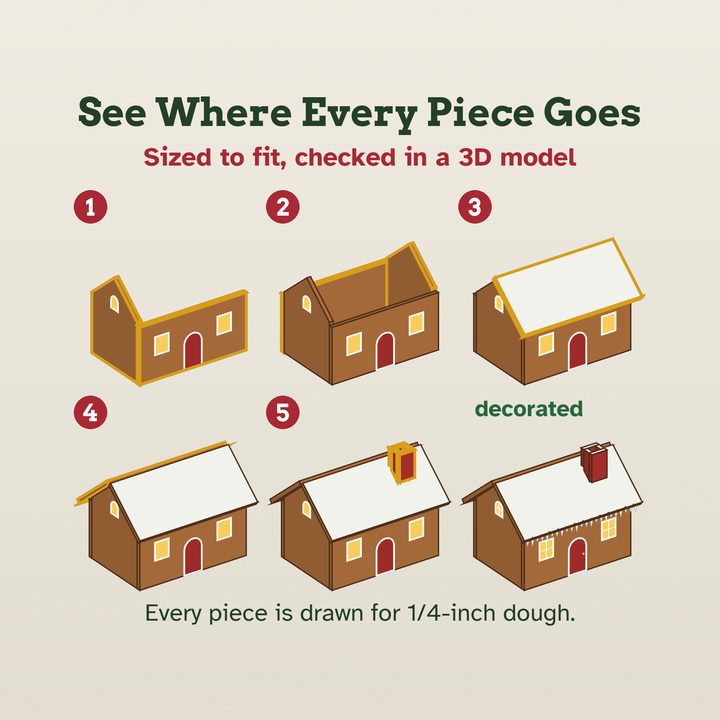
Every house goes together the same way: walls first, then a wait, then the roof one panel at a time. Here is the order for a simple gable house like the Sagestead farmhouse.
- Two walls. Pipe a thick line of icing along the bottom and one end of the front wall and of one side wall. Stand them on the board, with the side wall fitting inside the end of the front wall. Press, hold for a minute and prop with cans.
- All four walls. Add the other side wall and the back wall the same way. Check the corners are square against an empty cereal box, then pipe a second line of icing along the inside of every seam.
- Wait. Let the walls set at least 1 hour, up to overnight in humid weather. When a roof slides, it's because the walls hadn't set yet.
- The first roof panel. Pipe icing along the tops of the walls, lay one roof panel, prop it from below and let it set about an hour.
- The second roof panel. Add it the same way and pipe a thick line of icing along the ridge to close the seam.
- Details last. A chimney, a door iced back in its opening a little ajar, then a few hours' rest before decorating.
| Drying time | How long |
|---|---|
| Walls, before the roof | At least 1 hour; up to overnight in humid weather |
| Each roof panel | Prop it and let it set about 1 hour before the next |
| Before decorating | A few hours after the roof goes on |
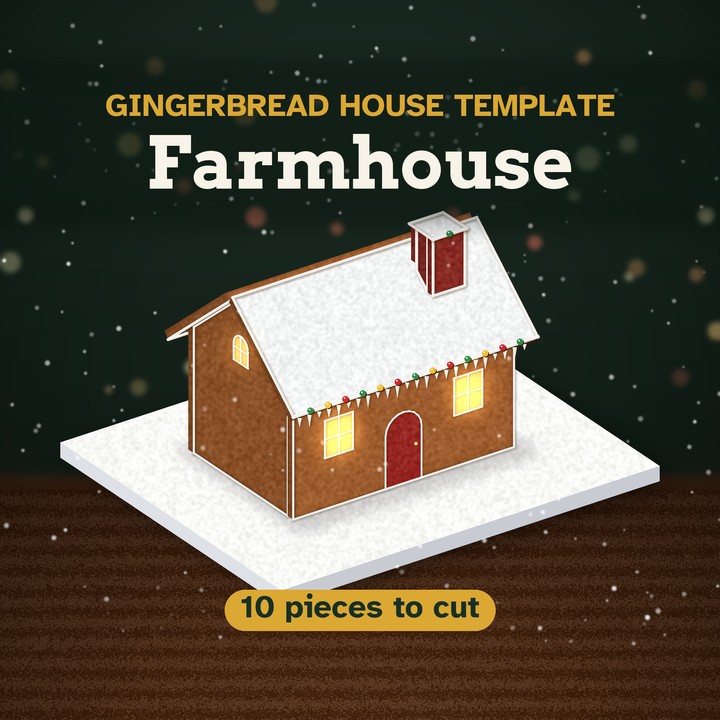
Your first gingerbread house? The Easy Gingerbread Farmhouse is a beginner build of 10 pieces with a chimney and seven windows, actual-size templates and step-by-step pictures. See the farmhouse →
Fixing cracks, leans and sliding roofs
| What happened | Why | What to do |
|---|---|---|
| A piece spread in the oven | Warm dough, or no chill before baking | Trim it against the template right away, while it's warm. Chill the next pieces before they go in. |
| A piece is soft or bendy | Underbaked | Put it back in the oven for a few minutes and let it cool flat. |
| A piece cracked or broke | Broken in handling | Glue it with stiff icing on a flat surface, let it dry, and build it with the mended side facing in. |
| The walls lean | Uneven bottom edges | Saw the bottom edges flat with a serrated knife, check the corners against a cereal box, and prop with cans until set. |
| The roof slides | The walls hadn't set | Take the roof off, let the walls dry longer, then add one panel at a time, propped. |
| The icing slumps | Too thin, or a humid room | Beat in more powdered sugar and build in a cool, dry room. |
A gingerbread house over four evenings
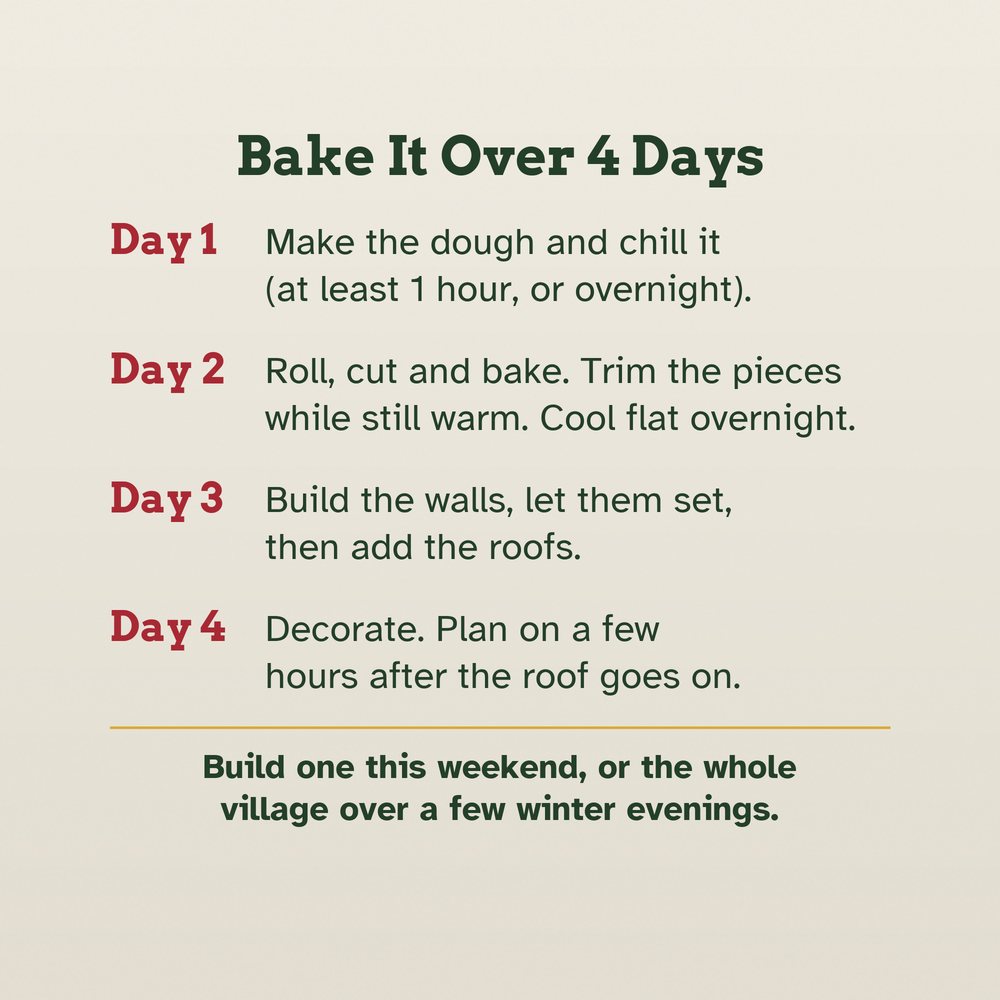
Baking, building and decorating in one afternoon leaves no time for anything to set. Split the work and every step gets the rest it needs.
- Evening 1: dough. Mix the dough and the spices, wrap the discs and chill them at least an hour, or overnight. Print and check the templates; do the paper test build.
- Evening 2: roll, cut and bake. Roll to 1/4 inch, cut, chill, bake and trim while warm. Let the pieces cool flat overnight.
- Evening 3: build. Make stiff royal icing. Walls first, an hour's wait, then the roof one panel at a time.
- Evening 4: decorate. A fresh batch of icing, candies, sprinkles and powdered-sugar snow on the board. Plan on a few hours.
Kids can join in every evening: rolling dough, cutting shapes with cookie cutters, piping snow and choosing the candies. The knife, the oven and melted candy stay with the grown-ups.
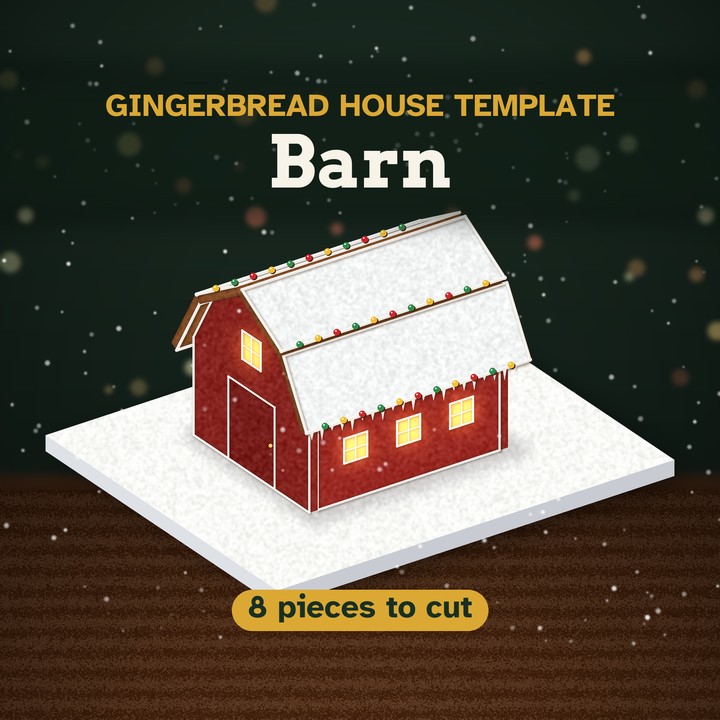
Love a barn? The Gingerbread Barn has a two-slope gambrel roof, a big door, two hayloft windows and six stall windows, in 8 pieces. See the barn →
Safe to make, lasting to keep
- No tasting raw dough, and no licking fingers or spoons: raw flour can carry E. coli, and only baking makes it safe (FDA). Wash hands, bowls and counters after.
- Check allergens. The dough contains wheat (and milk if you use butter), meringue powder contains egg, and candies can contain milk, soy or nuts.
- Battery lights only. A battery tea light set inside before the roof goes on makes the windows glow. Never a real candle.
- Eating it? Keep it covered and clean and enjoy it within about 5 days of decorating. Never eat a house that was stored, and mark any house built with hot glue or clear spray "for display only".
- Keeping it? Display it in a cool, dry room, covered at night against dust. To save it for next year, store it in an airtight box with a packet of desiccant.
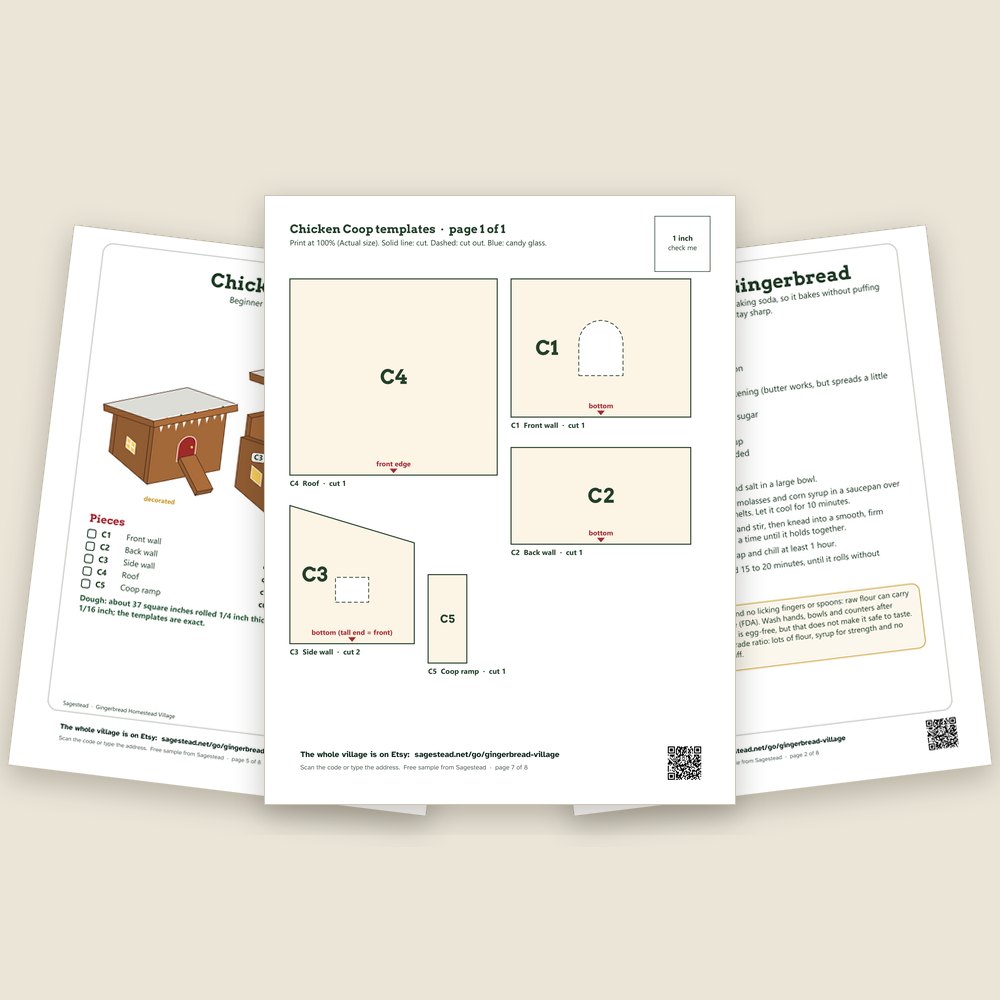
Free gingerbread chicken coop template
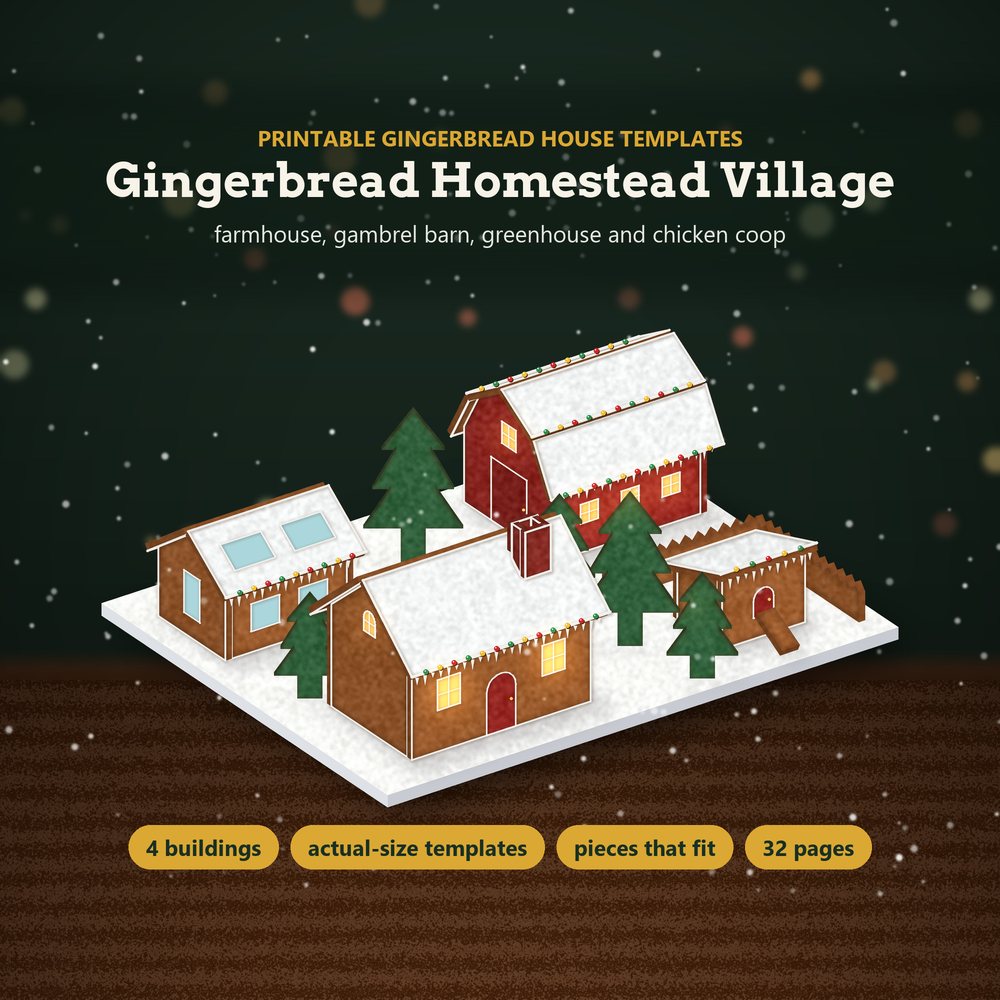
The chicken coop from the Sagestead Gingerbread Homestead Village: six pieces, a beginner build and a great first house for kids, with everything you need to bake it this week.
- The actual-size coop template with a 1-inch check square
- The pieces, sizes and four building steps in pictures
- The construction gingerbread and royal icing recipes
- The roll, cut and bake guide with baking times